You can control user access to pages, set target databases, manage data sources, and view change history from the General group of the System Configuration Commands ribbon.

From the General group of the System Configuration Commands ribbon, you can:
You can create, update and delete primary roles in Ontrack Designer. Creating primary roles can be useful for sites requiring greater control over which pages individual users will see.
You need to have the Manage Roles role to access this functionality.
To configure primary roles, click the Manage Roles button on the System Configuration Commands ribbon.

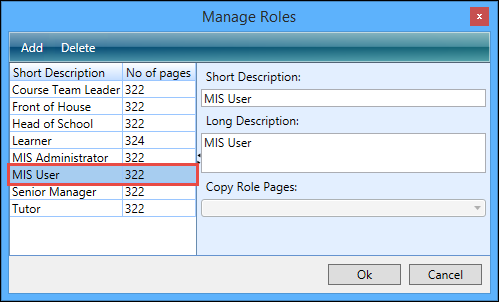
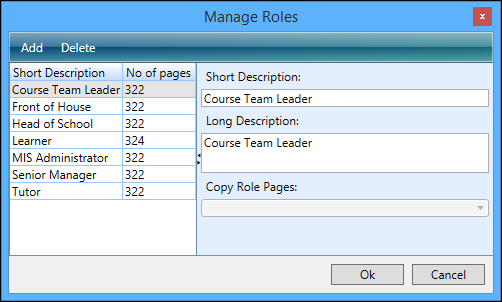
The Manage Roles window will be displayed, which lists all the currently configured primary roles used and the number of pages each role has access to in Ontrack Designer.
From the Manage Roles window, you can:
-
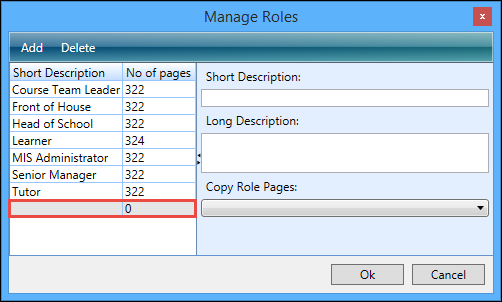
Click the Add button on the Manage Roles window.

A new row is entered in the grid.
-
Enter the details of the new role in the Short Description and Long Description fields.
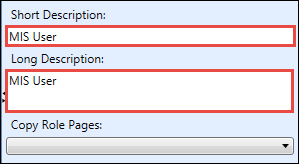
-
To copy the role pages from another role, select from the Copy Role Pages drop-down field.
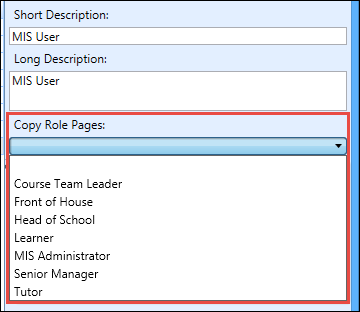
-
Click OK to save the role.
The primary role is added.
Ontrack Staff Hub and Ontrack Learner Hub pages are assigned an ID number from a numeric sequence in the EBS database. While the current database is determined by which system the user logs into when loading Central, page edits can be imported into another EBS database (for example: your Test system).
Problems can be encountered if a user attempts to import a page which has obtained an ID number from one system into the other system if the ID number has already been used in the second system. To ensure that page ID numbers are always consistent and unique, Ontrack Designer can be configured to obtain its ID numbers from one database, thereby eliminating clashes.
You can control which database Ontrack Designer will go to obtain page ID numbers on the Set Target Database window, (accessed by clicking the Set Target Database button on the System Configuration Commands ribbon).

This is an institution wide setting and will apply to all users of Ontrack Designer for the database they are accessing.
The recommended configuration for institutions with a live and test environment is:
-
Log into the test system, and set the target database to Deployed on another target database and set this to the live database.
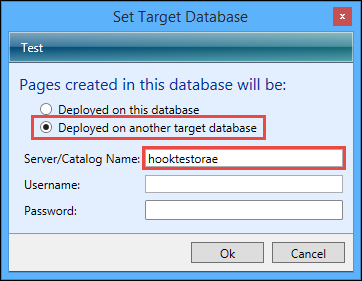
-
Enter the database username and password.

-
Click the Test button to check whether the connection is working.
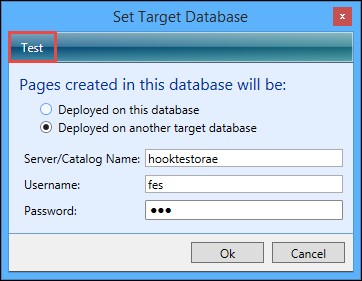
A message is displayed confirming whether the target has been set correctly.
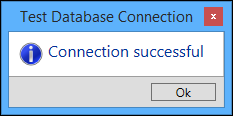
- Click OK to save your changes on the test database.
-
Log into the live system and set this to Deployed on this database.
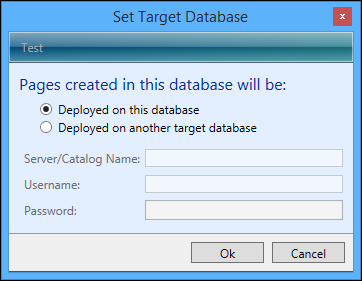
-
Click OK to save your changes.
The target database is set.
The data required for Ontrack Staff Hub and Ontrack Learner Hub pages can be retrieved from a number of different data sources. To configure different data sources, click the Manage Data Sources button on the System Configuration Commands ribbon.

You need to have the Manage Data Sources role to use this functionality.
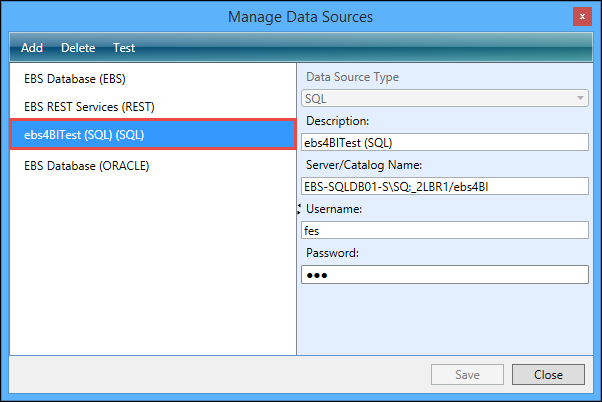
The Manage Data Sources window will be displayed, which displays all the currently configured data sources. On this screen you can add, update, delete and test data sources.
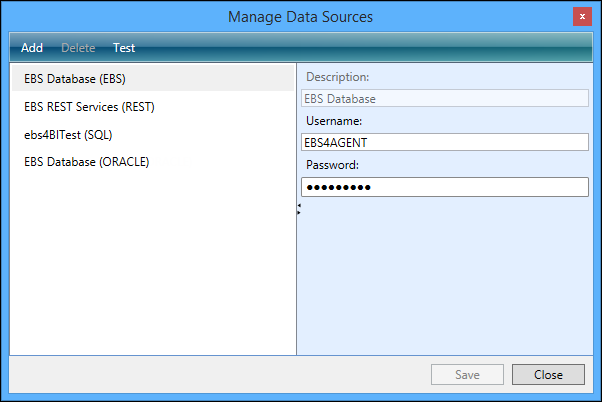
From the Manage Data Sources window, you can:
-
Click the Add button on the Manage Data Sources window.

-
Enter the details of the data source into the available fields.
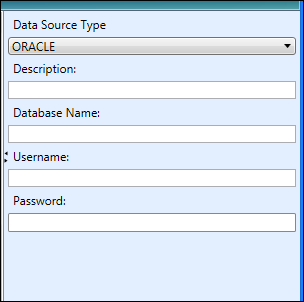
The fields on the Manage Data Sources window are described in the following table.
| This field | Holds this information... |
|---|---|
| Data Source Type |
The type of data source to connect to. Select from the following:
|
| Description | The description of the data source. |
| Database Name/ Server/Catalog Name | The name of the database to connect to. This field will display as Server/Catalog name if SQL, MySQL or REST have been selected. |
| Username |
The username used to connect to the data source. The username should have sufficient privileges to access the required data. |
| Password | The password for the username. |
-
Click Save to save the configuration.
The data source is added.
The data source connection must be valid on the application server hosting the web services for Ontrack Staff Hub and Ontrack Learner Hub, not the client machine that you are using to run Ontrack Designer. This is because it is the application server that will be accessing the data.
Testing a data source enables you to check whether a data source is working correctly before using it in Ontrack Staff Hub or Ontrack Learner Hub.
To test a data source:
-
Select the data source you want to test from the data sources in the left pane.
-
Click the Test button.

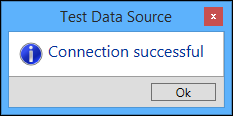
If the test was successful, a message will display confirming the test has worked.
-
Click OK to close the message.
If the test was not successful, a message will display stating why the test did not work.

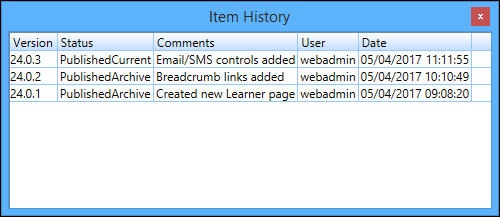
You can view the history of changes made in Ontrack Designer by selecting the required item (for example: a page) and clicking the Show History button on the System Configuration Commands ribbon.

This will display the Item History window which includes the following fields:
-
Version - the version when the item was last changed
The major version (that is: 24.0) will be updated automatically on install if it has changed and any user edits incremented in the final number of the version.
- Status - the status of the change made
- Comments - the check-in comment when publishing the change if entered
- User - the user that made the change
- Date - the date and time the change was made
